Sunday, February 7, 2016

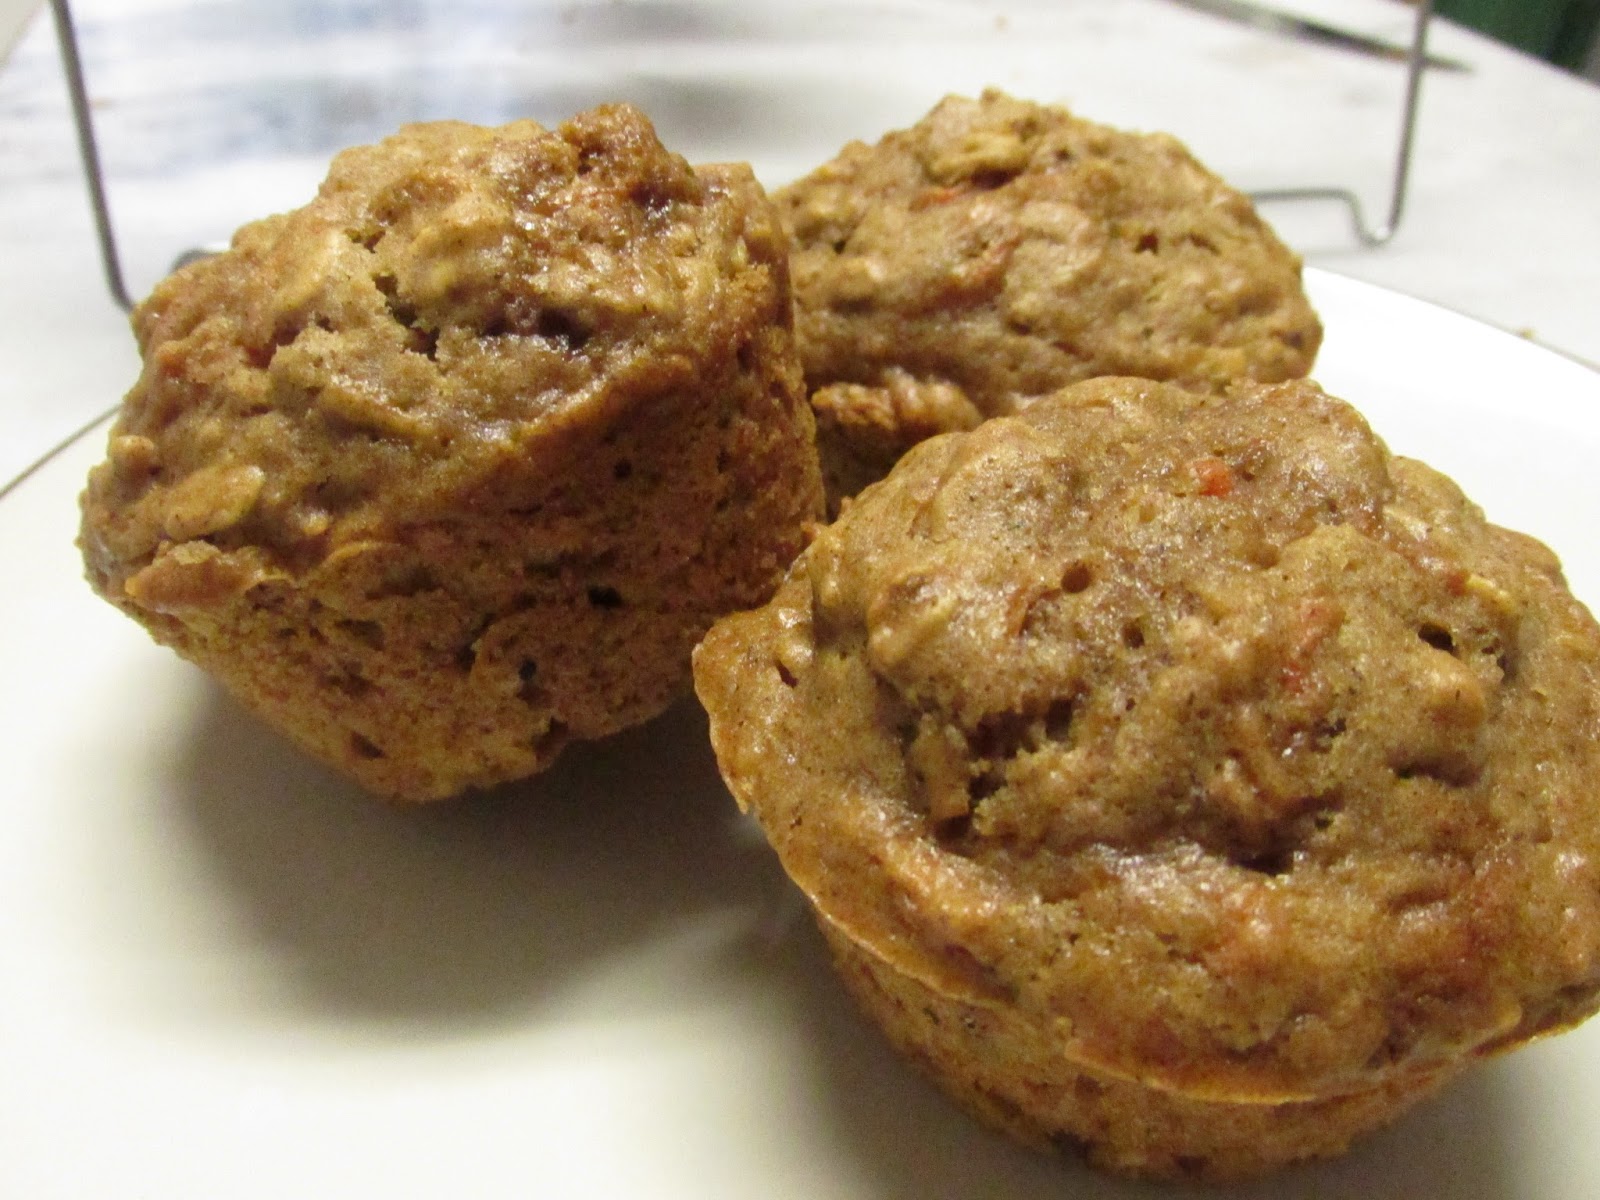
Cinnamon Apple-Carrot Muffins

I've been craving something that tastes hearty as well as sweet--something that will feel a little decadent, but also hold lots of cozy flavors and be healthy enough for a post-breakfast snack. What better a choice than some good 'ole muffins?


These are definitely packed with flavor, but still have a lovely, moist crumb that is not dense (what is worse than dense muffins?) but holds together fabulously. There's lots of texture from the oats, carrots, and apple. Excellent with some butter or jam as well as on their own!


Ingredients:

-2 cups all-purpose flour
-1 cup rolled oats (old-fashioned, not instant)
-2 1/2 tsp. baking powder
-1/2 tsp. baking soda
-2 tsp. cinnamon
-1/4 tsp. ginger
-1/4 tsp. freshly grated nutmeg
-1/2 tsp. salt
-1 cup grated apple (MacIntosh or Granny Smith are good)
-1 cup grated carrot
-2 large, cage free eggs
-1.5 cups of dark brown sugar, packed
-1 tsp. vanilla extract
-1/3 cup unsweetened apple sauce
-1/3 cup whole milk or buttermilk
-1/2 cup vegetable oil

Preheat the oven to 325F. Grease a cupcake pan or line with muffin cups.

Combine flour, oats, baking powder, baking soda, spices, and salt in a large bowl. Stir in the grated apple and carrot.

In a separate bowl, blend eggs, sugar, oil, milk, apple sauce, and vanilla with a whisk or electric mixture until evenly blended.  Pour wet mixture over dry, and stir together until just  blended--don't over mix!

Fill each muffin cup about 3/4 of the way, or to the top if you want that "muffin top" look (there is definitely enough batter for that), and place in the oven for 15-20 minutes, until puffy and a knife poked through the center of a muffin comes out clean. Pop out onto a cooling rack for 15 minutes or so, until cooled enough to eat.

Makes about 16 regular-sized muffins or 10-12 large ones.


Wednesday, January 13, 2016

Cornish Pasties

Looking for something cozy, crispy, and full of flavor to snuggle up with on a cold, winter day? A Cornish Pasty is just the thing...And it's conveniently hand-held and portable.


Created by the British, a pasty is a hand-pie that is sold on street corners all over London. Rich, flaky pastry, and a steaming meat and potato-filled center are everything you could want on a January outing! The key to make this magic is salt. That's where the flavor is at. Starchy foods like potatoes and turnips have a way of absorbing all of the salt you add, so be warned! When in doubt, add that extra bit.


Pastry Recipe:

3 1/2 cups of all purpose flour
7 ounces unsalted butter, just out of the fridge, quartered lengthwise and diced into small cubes
2 ounces sharp white cheddar cheese
1 1/2 tsp. salt
1 tsp. fresh thyme leaves, plucked
2 large eggs, beaten
1/3 cup cold milk

Blend the flour, butter, cheese, salt, and thyme with a pastry cutter or two knives in a large bowl. When ground into a crumbly meal with bits of butter no larger than peas,  pour in your eggs and a small drizzle of milk. Stir together with a wooden spoon until well combined. Add more milk if the dough is still too floury. Pinch the dough with your fingers, once it sticks together, it's ready to press into a ball. Divide the ball into four equally-sized pieces, press into flat disks with your hand, and package in plastic wrap.

Let rest in the fridge for at least an hour.


Filling ingredients:

3/4 cup peeled and finely diced rutabaga
3/4 cup peeled and finely diced potato
1 medium onion, finely diced
1 lb. finely diced beef brisket, fat still on
2 tsp. salt
1/2 tsp. dry rosemary or 1 tsp. fresh
2 tbsp. flour

Mix ingredients in a bowl.

When ready to create pasties, preheat the oven to 425 F. Roll out the dough into approximately 7 inch disks (I used a small plate to make circles) that are about 3 mm thick. Spoon about a 1/2 cup of filling into each pasty, and press down the edges, sealing with water. Brush the tops with egg wash and pierce to let out steam.

Place on a baking sheet in the oven for 15-20 minutes, until a touch browned, and then turn the heat down to 325 F. Bake for another 30-40 minutes until golden brown and filling the kitchen with a glorious aroma.

Cool for a few minutes before serving.


Sunday, January 3, 2016

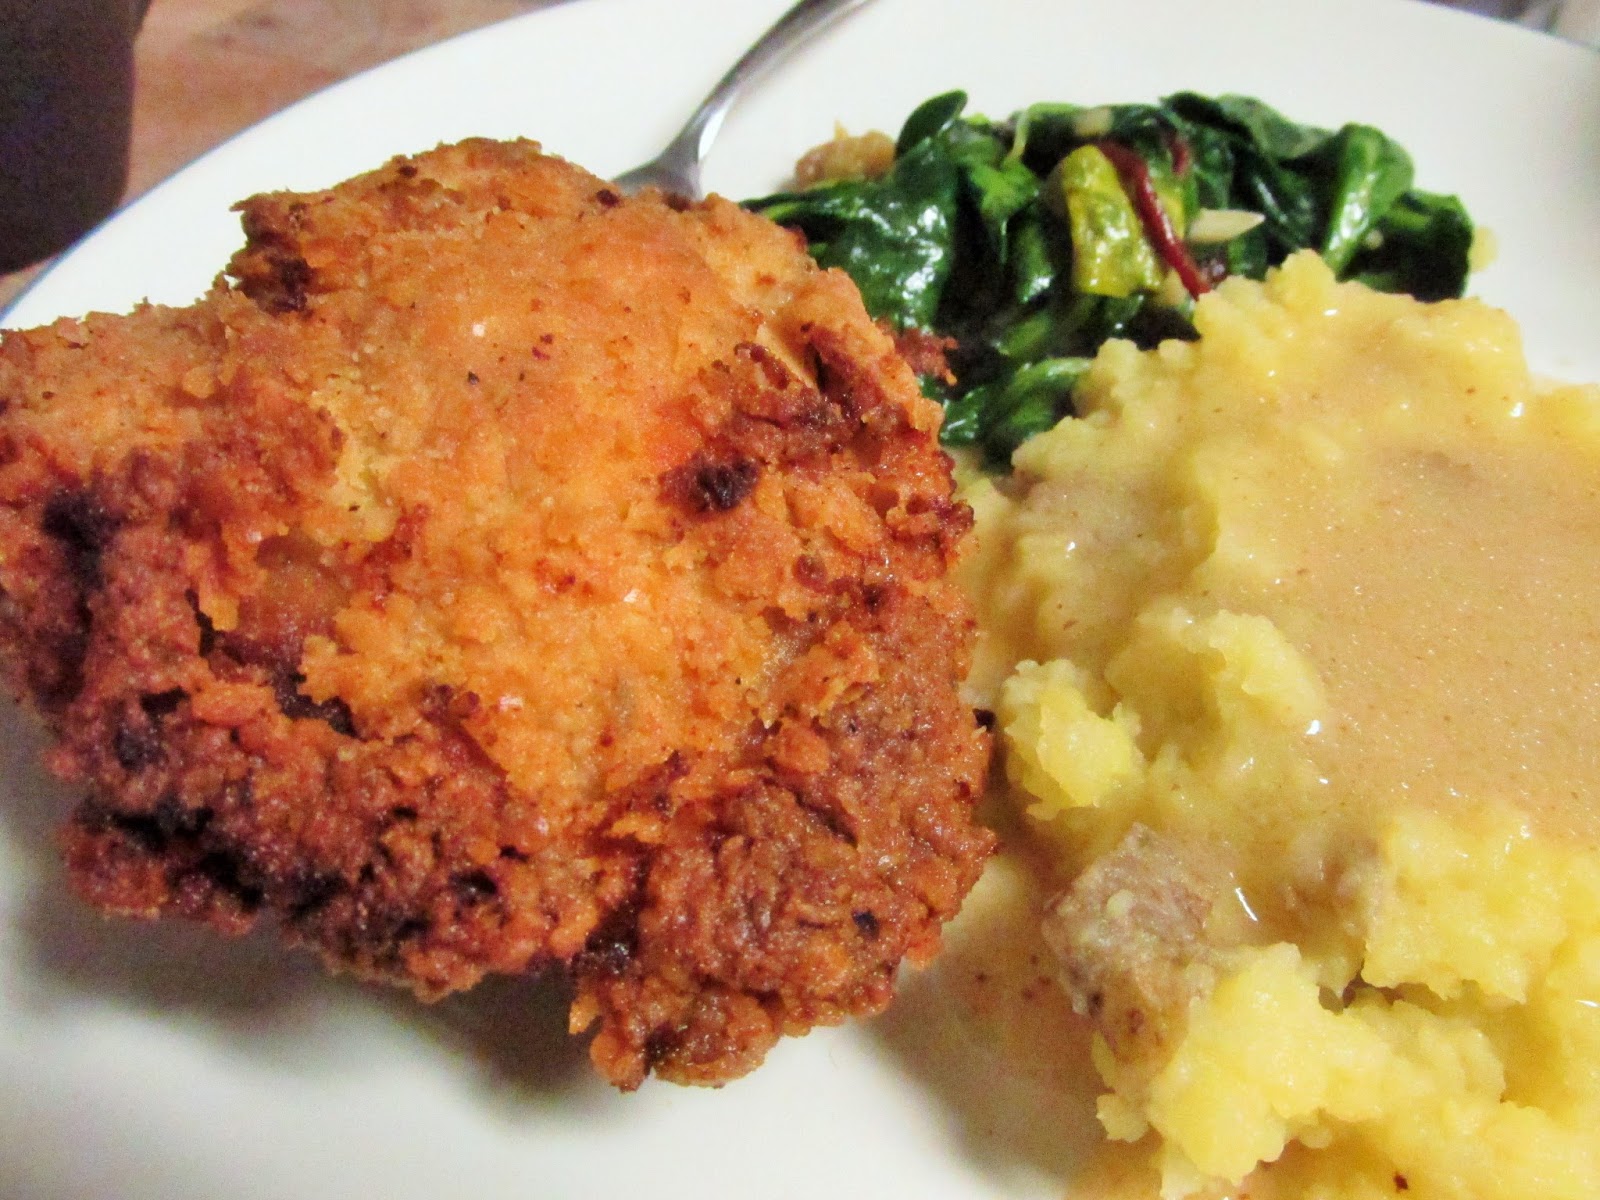
Midwestern Style Fried Chicken with Honey Roasted Garlic Greens


I've been missing in action for a while--I apologize! I am now 14 weeks into pregnancy, and I was not feeling much like cooking up until a couple of weeks ago.

This mouthwateringly crispy, tangy, recipe is inspired by Amy Thielen's recipe from the Food Network show, Heartland Table. I just couldn't pass it up--this is truly yummy and actually pretty simple to make. I think the most appealing aspect for me was that it requires much less oil than a regular fried chicken. Try it out!


Honey Roasted Garlic Greens Ingredients:
-2 heads of garlic
-3 tsp. honey
-3 tsp. olive oil
-2 tsp. apple cider vinegar
-2 tbsp. slivered almonds or pine nuts
-2 lbs. greens of your choice (kale, spinach, swiss chard, or collard cut up with the thick stems removed)

Cut the tops off of the two whole heads of garlic, just exposing the tops of the cloves. Lay both top side exposed in a snug basket of aluminum foil. Drizzle over 2 tsp. honey and 2 tsp. olive oil. Seal the package and place in the oven at 350F for about 45 minutes. At this time you can get started on cooking your fried chicken.
 When finished baking, take out the packet and pour all of the juicy contents into a bowl. When cool enough to handle, squeeze the garlic out of the cloves by pressing them out from the bottom, and discard the husks. Drizzle over the remaining honey.
When you are nearly ready to eat (when the chicken and gravy are finished), in a large pan, heat 1 tsp. oil over medium heat. Add your nuts and toast until golden. Then, stir in the greens a bunch at a time until they are all just wilted. Drizzle over the vinegar and saute for 1 minute. Lastly, combine the garlic cloves and all of the juices in the bowl. It seems like a lot of garlic, but the roasting took away all of the bite, and the honey made it creamy, smooth, and sweet. Sprinkle in salt to taste. Turn heat to low and cover until ready to serve.


Fried Chicken Ingredients:
-1 whole chicken, cut into pieces (or 2 packages of chicken legs, wings, breasts or thighs)
-1 cup buttermilk
- salt and pepper
-2 tsp. of fresh thyme or oregano (or 1 tsp. dry)
-4 cloves of garlic, smashed
-2 tsp. smoked paprika
-1.5 cups flour
-1 cup ground butter crackers (about a sleeve); you can whack these in a zip-lock bag with a rolling pin, or just toss them into the food processor
-canola or vegetable oil for frying

Combine buttermilk, 1.5 tsp. salt, 1 tsp. pepper, thyme, and garlic in a bowl with the chicken. Let marinate at room temperature for an hour, or overnight in the fridge.
When ready to fry, set a wide pan (a cast iron one is best) over medium-high heat and add 1 inch of oil. Keep your eye on it to make sure it doesn’t get too hot. Hint—if you toss a crumb into the oil and it immediately is covered in bubbles and is sizzling, it’s ready. If the oil starts to pop and crack or smoke, it is much too hot—take it off the heat for a few minutes to cool down. Also, preheat your oven to 350F and slide a cookie sheet inside.
While the oil is heating up, combine your flour, cracker crumbs, paprika, 2 tsp. salt, 1 tsp. pepper in a 9x13 pan. Dredge the chicken well in the coating, really packing it on, and set aside on a plate. You can also double-dredge if you are in the mood…then you would dip the chicken back in the remaining buttermilk mixture before dredging again.
When the oil is hot enough, carefully place the first few chicken pieces into it until the pan is comfortably filled. Flip the chicken after about 5 minutes, when the bottom is well browned. Once both sides are scrumptiously crispy, carefully take out of the oil and drain on paper towel. When all of the pieces are cooked, put them all on the pan in the oven. Bake for 20 minutes.
Meanwhile, you can create a quick gravy, and work on your vegetables!


Gravy ingredients:
-2 tbsp. flour
-2 cloves of garlic, smashed
-1 bundle of fresh herbs such as oregano, thyme, or sage
-2 cups of chicken or vegetable stock
-salt and pepper

Pour off all but 2 tbsp. of the oil from the pan in which you fried the chicken. If there are any burned bits, be sure to remove those, too. Add the smashed garlic and the herbs to the pan. Heat over medium until the garlic turns golden brown, then add the flour and whisk until combined and bubbling. Slowly add the chicken stock, whisking until each addition is combined. Heat until simmering and thickened. Taste, and add salt and pepper as needed. Strain through a fine-mesh sieve into a gravy boat.


Serve everything together!


Thursday, October 1, 2015

Pumpkin-Apple Upside Down Cake


 It's finally fall. This is positively my favorite time of year! We have been craving pumpkin around here for a while. I began imagining something apple-y and pumpkin-y that was born into reality as an upside down cake. This is super moist. The sugar caramelizes on the apples and then soaks in to the cake...doesn't get any better than this.


Ingredients:

1/3 cup butter
2-3 small, tart apples cut in half, cores scooped out with a melon-baller or spoon and sliced thinly 
1/3 cup dark brown sugar
2 cups all-purpose flour
2 1/4 teaspoons baking powder
3/4 teaspoon baking soda 
1 teaspoon salt
1 teaspoon cinnamon
1/2 teaspoon ground ginger
1/8 teaspoon freshly grated nutmeg
1/4 teaspoon ground cloves
1 1/4 cups light brown sugar
4 large eggs
3/4 cup vegetable oil
One 15-ounce can pumpkin puree
1/2 cup buttermilk (sub. 1/2 tsp. lemon juice and fill rest of the way with milk up to 1/2 cup measurement)


Preheat the oven to 325F. Cut the butter into a bunt pan, and place the pan in the oven, until the butter melts. Then, take the pan out again and pour in the brown sugar, stirring it around until mixed. Lay your apple slices around the pan, overlapping them slightly, making a ring shape. 

Put the pan back in the oven to start baking the apples. Then, begin work on your batter. In a medium bowl, whisk the flour with the baking powder, salt, cinnamon, ginger, baking soda, nutmeg and cloves.  

In a separate bowl, using an electric mixer, beat the brown sugar and eggs at medium-high speed until fluffy, 3 minutes. Beat in the oil, then beat in the pumpkin puree. Alternating with butter and egg mixture in three additions, mix everything into the flour mixture, stirring until just combined. 

Carefully pour the batter into the bunt pan, being sure that it spreads out evenly. Cook in the oven for 45 minutes to an hour, until the cake no longer wobbles when you giggle the pan. 

Flip out directly onto your serving plate as soon as it comes out of the oven, and carefully pull the pan off. Tada! Serve warm, with lots of ice cream.


Friday, September 11, 2015

A Most Delectable Steak and Ale Pie

What a glorious way to start off the autumn season. Steak and Ale Pie is a scrumptious dish. Satisfying, rich in flavor and in depth, the falling-apart beef is dressed in a sumptuous gravy. A flaky cheese and herb pastry adds a layer of complexity, too.  With plenty to go around, this will  be hearty, satisfying, and should serve 8 with leftovers.

I always serve this with garlic mashed potatoes that can sop up that gravy! 


Filling Ingredients:


2 tbsp. olive oil
2 tbsp. butter
3 medium red onions, peeled and chopped
3 cloves garlic, peeled
3 carrots, peeled and chopped
2 sticks celery, trimmed and chopped
4 field mushrooms, peeled and sliced
1.5 lb quality brisket of beef or stewing beef, cut into 1 inch cubes (if you get a roast on the bone, drop the bone into the filling along with the beef to add more flavor)
2 rashers of bacon 
a few sprigs fresh rosemary, leaves picked and chopped
sea salt
freshly ground black pepper
1 bottle Guinness or other dark beer
1 qt. beef stock
 1/3 cup flour
1 cup sharp, white Cheddar cheese, freshly grated

Preheat oven to 375F.


In a large pot, heat the olive oil and butter over medium heat until bubbling. Add in your vegetables, garlic, rosemary, pepper, and 2 tsp. salt. Simmer until softened and fragrant, about 5 minutes. Add the beef (and beef bone if you are using it), bacon, and stir in the flour. Next, pour in the beer, and pour over stock to just cover the meat and vegetables. Bring to a boil. Cover with a lid, and then place in the oven for 2 hours, stirring occasionally. Make your pastry during this time.

Remove from the oven, give it a good stir, and place on the stove top. Continue simmering uncovered for another half hour, or until the sauce has thickened and the meat is soft. 

Preheat oven a second time, to 425F. 


Pour filling into a prepared casserole dish of appropriate size (I used a 9x13 pan with high edges). Drape pastry over the pie, cut in a few air slits, and cook for about 20 minutes, until golden brown. 


Pastry Ingredients:

3 1/2 cups all purpose flour
7 ounces lard, cut into cubes (you can also use butter in a pinch)
2 ounces freshly grated Cheddar cheese
sea salt
a sprig of fresh rosemary, leaves picked
a few sprigs of fresh thyme, leaves picked
2 large eggs, beaten
a good splash of milk (about 1/3 cup)
flour for dusting 
Combine flour, cheese, salt and lard in a bowl. Use a pastry cutter or two knives to cut into fine crumbs. Add in the herbs , beaten eggs, and some milk. Use a spatula to bring it all together. When you squeeze the dough with your hand it should keep its shape, and not crumble apart. 
Cut two pieces of cling film and lay them out crosswise. Dump the dough clumps out onto it. Fold the edges of the film over snugly and form it into a square disc, about 3/4 inch thick. Cover with another layer, and place in the fridge for about 1 hour. 
Roll out into a rectangle of about 1/4 inch thickness and drape over filled casserole dish to bake, pressing down edges and cutting off excess (which you could keep for later!). 


Friday, August 7, 2015

Prosciutto Peach Pizza

Another unusual take on pizza...this one doesn't even have pizza sauce! I must say, though, that the peaches for this recipe MUST be fresh. The sweet juiciness will make this mouthwatering. The balsamic drizzle brings a nice sharp sweetness to it.


Ingredients:
-1 recipe pizza dough
-3 tbsp. olive oil and 1 clove garlic, minced
-4 oz. thinly sliced prosciutto
-4 oz. ricotta cheese blended with a pinch of salt and pepper
-6 oz. fresh mozzarella
-2 ripe peaches, sliced
-1 handful of fresh basil, chopped
-1/2 cup balsamic vinegar
-2 tbsp. honey
-some red onion, thinly sliced (optional)

Preheat the oven to 400F.

Roll out the dough into a circle; stretch to the size of your pan. Once the oven is preheated, slide your dough into the oven. Cook for 10 minutes, until the bottom of the crust is firm, then take out again.

Brush the center of the crust with your garlic olive oil, then drape over the prosciutto. Scatter drops of ricotta all around the crust, then tear up pieces of mozzarella and spread them out. Next, spread your peach slices across in a nice pattern (and red onions, if you want).

Cook the pizza for about 20 minutes, until golden brown on top and the peaches are caramelized.

While the pizza is in the oven, combine the honey and balsamic vinegar in a small saucepan over medium-high heat. Simmer until reduced by half, set aside to cool and thicken. When the pizza comes out of the oven, drizzle over the balsamic, and then sprinkle the basil over the top.

Serve!


Thursday, August 6, 2015

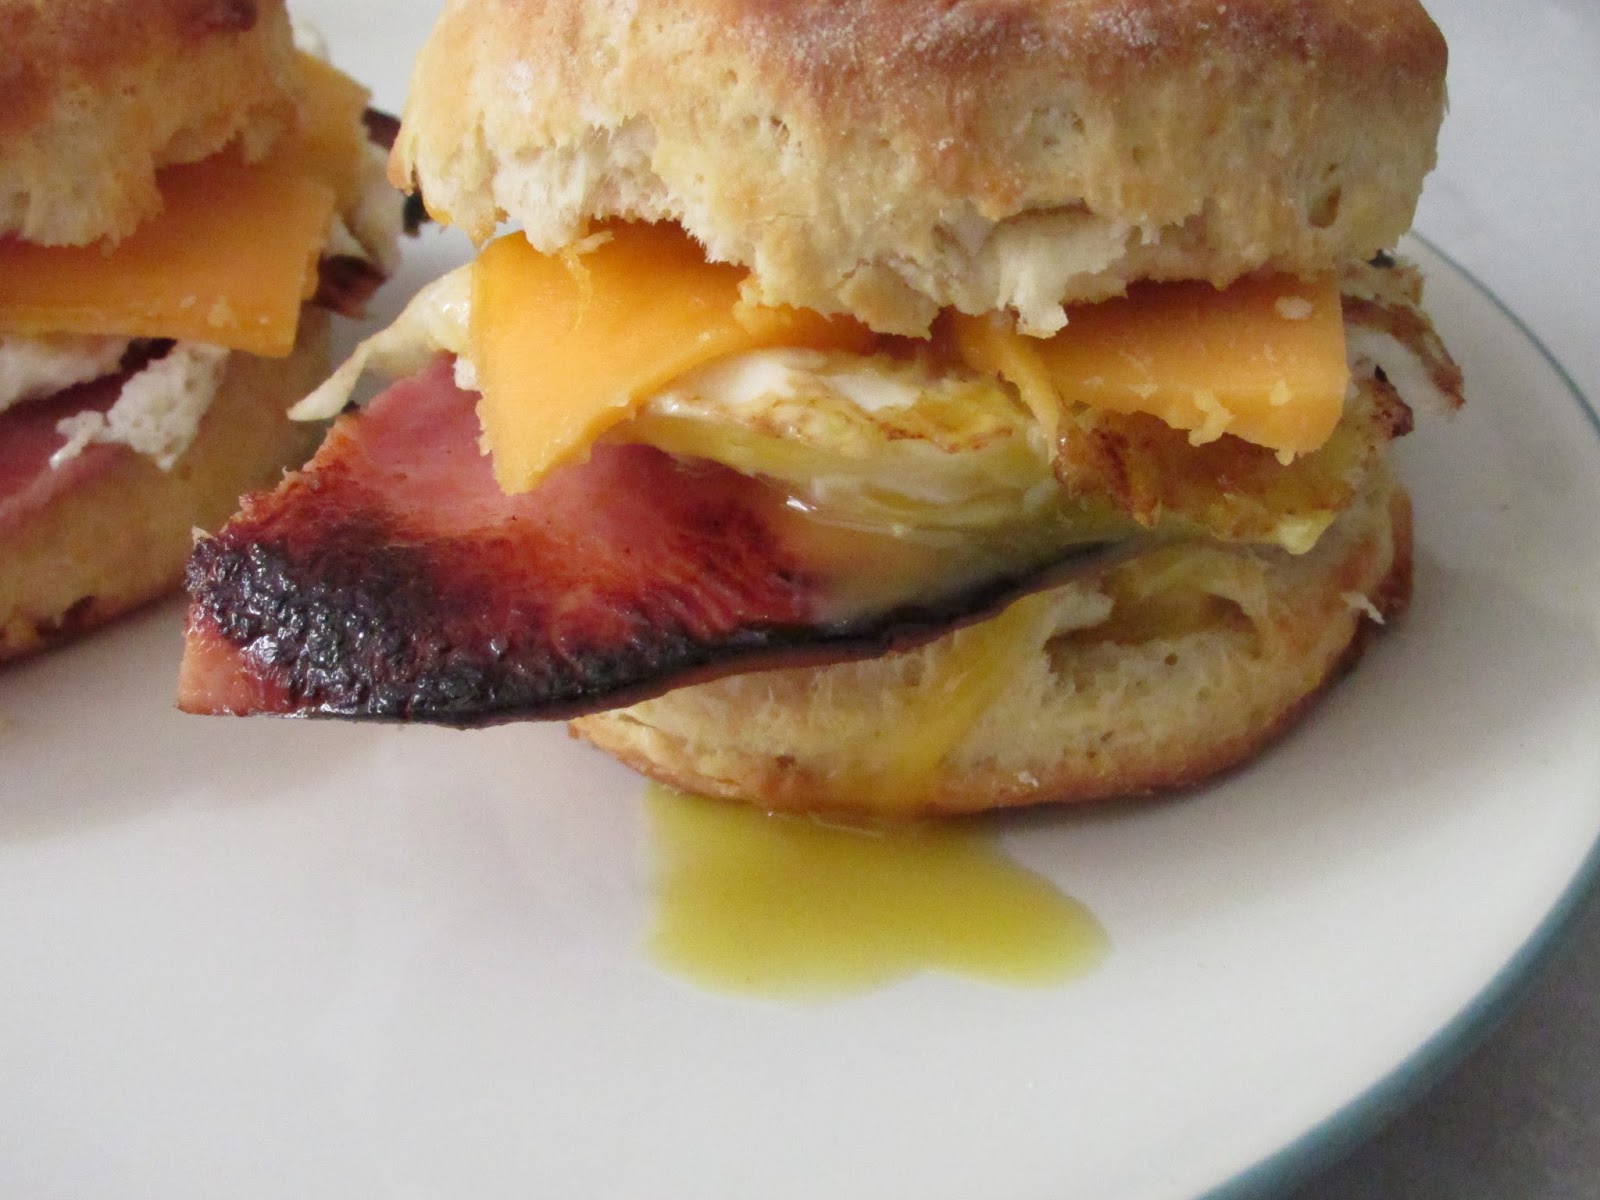
Quick, Delicious Breakfast Biscuits

 Okay, so when I say these are "quick," I don't mean that they are microwaveable or anything like that....what I do mean is that the biscuits take less than 10 minutes to get into the oven, and after that, it took about 15 minutes for me to get them to the table with all the finishing touches. Pretty good for a meal that is completely made from scratch.

And just look at those beauties...


 Biscuit Ingredients:
 -2 cups all purpose flour
-4 tsp. baking powder
-3/4 tsp. baking soda
-3/4 tsp. salt
-1 cup buttermilk (sub. 1 tsp lemon juice and fill cup rest of way w/ milk)
-4 tbsp. butter

Preheat the oven to 450F and prepare a pan.

 In a large bowl, combine the dry ingredients. Quickly cut up your butter and sprinkle it into the bowl. Using your fingers or a pastry cutter, combine the butter into then flour mixture until it looks like crumbs (the faster the better; you don't want the butter to melt. We are working for imperfection!). Next, pour in your buttermilk and stir with a spatula until it creates a sticky dough.

Flour a surface and dump your batter out. Flour your hands and fold the dough over itself, with care, 5-6 times, being sure not to press down on it. It should be airy and light. Next, form your dough into a 1 inch high surface, and using a 2 inch cookie cutter or glass dipped in flour, cut out as many biscuits as you can. Reform the scrap dough, working it as little as possible, and cut out more biscuits. You should have 6-7 biscuits when you are done.

Once you have them all ready, brush them with a little milk, and place them in the oven for 15-20 minutes, until risen high and the tops and bottoms are golden brown.


Filling for Biscuits:
-6 eggs
-3 large, thick slices of Virginia Ham
-6 Slices sharp cheddar cheese

While the biscuits are cooking, preheat two pans on medium heat. In the first pan, once it is hot, pour a drizzle of oil, then lay in your pieces of ham--do this in batches if needed. Let the ham sizzle away until it gets  crispy with deep brown spots.

In the second pan, drizzle in some oil to the hot pan and crack in a few of the eggs, sprinkling with some salt and pepper. We like ours over easy. I cook those on the first side until the white is almost completely firm, then carefully, with a rubber spatula, I flip them gently and cook for 30 seconds on the second side, just to firm up the egg white, and then the yolks are still soft. If you want your egg yolks firm--over hard, just cook them on the second side until they feel firm under pressure from the spatula.

Once eggs and ham are finished, cut the ham slices in halves on a plate, and rest a finished egg on each slice.

When the biscuits are ready, take them out of the oven and cut the tops from the bottoms...I think you know what to do next. Assemble, and eat! These are really delicious--SO much better than McDonalds...


Monday, July 6, 2015

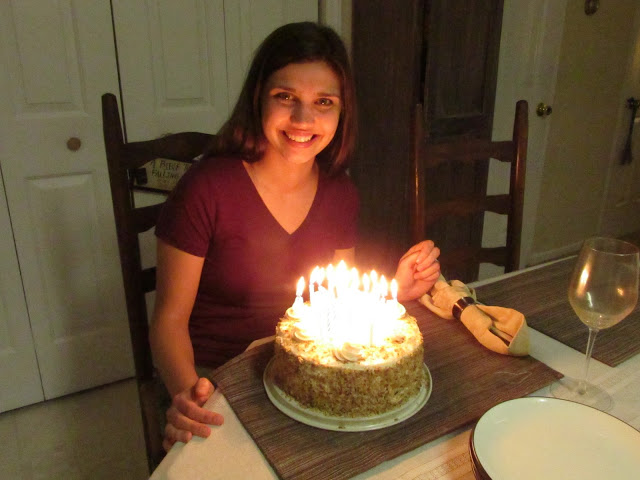
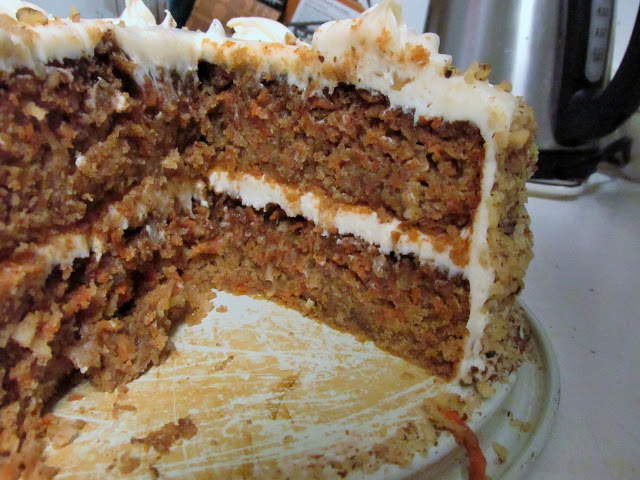
Gluten Free Carrot Cake


I am aware that "gluten free" is all the craze these days--however there actually are people out there, like my mom and my best friend from college, who are actually gluten intolerant and cannot seem to digest wheat without major pain and illness. It's so sad that these folks can't have bread or sweets like the rest of us are used to! I think it's great that there are so many people out there experimenting with new kinds of grains and flours to make delicious treats that don't taste "healthy" but are still satisfying and rich.

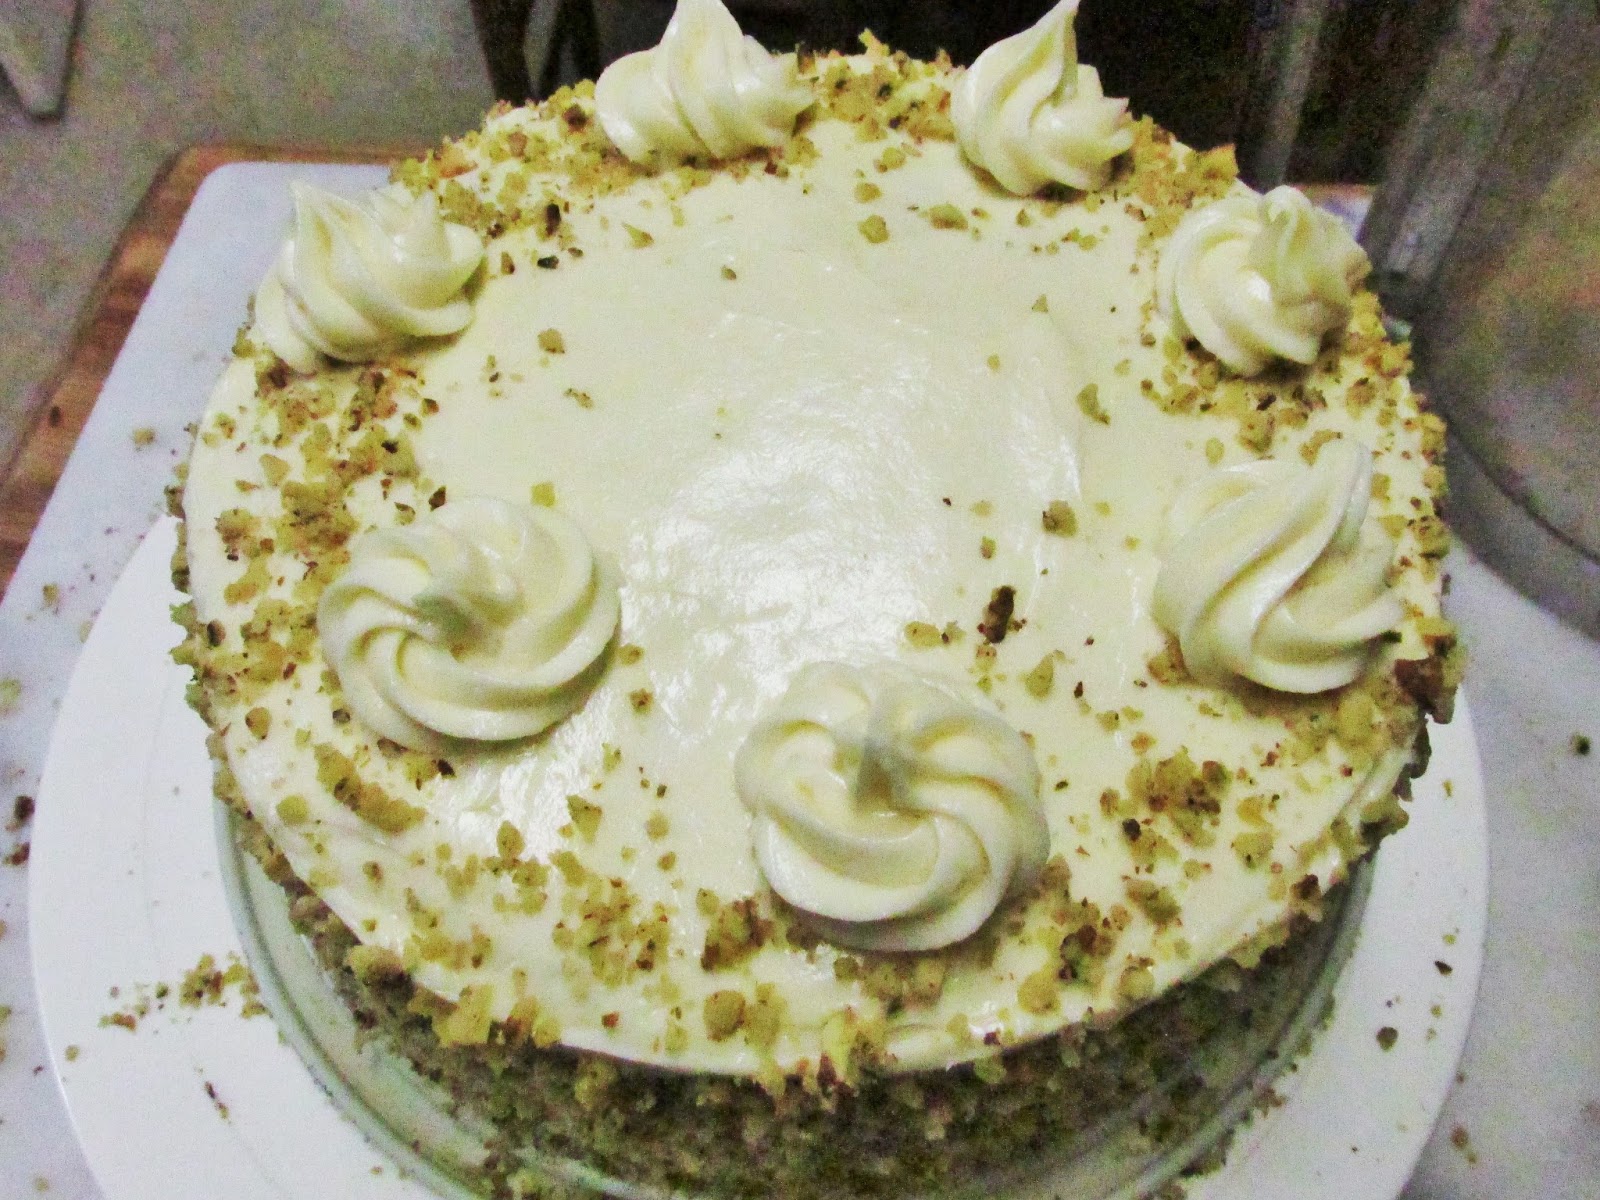
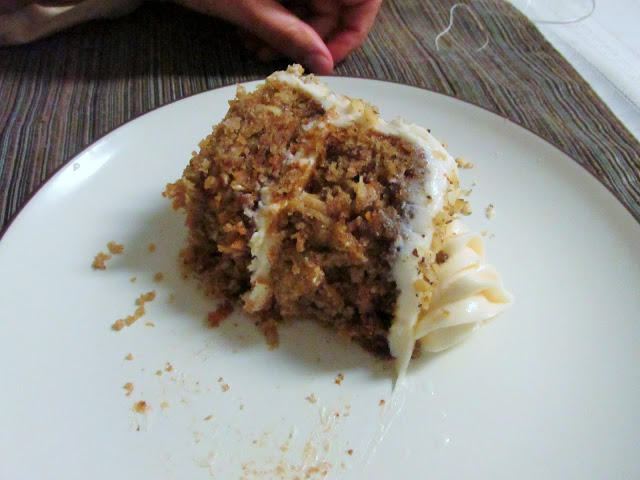
This is my first crack at gluten free, and it went surprisingly well. This cake is moist, soft, and airy. It rose perfectly in the oven, and didn't cave in when it cooled. You can't even tell it isn't made with flour! Thanks to Divas Can Cook for the inspiration and main recipe.


Some things I have learned about making baked goods with gluten free "flour":

1. Use double the flavorings: it seems that these nut/rice/bean flours absorb any flavors you add, so add double the vanilla and double the cinnamon. You can also add more sugar. Ramp up the flavors on all levels! Taste your batter before you cook it. It should taste sweet, like a cake.

2. Use a batter with lots of moisture: It is true that oftentimes you can replace the regular flour in a cake recipe with the gluten free type, however, be sure that the recipe you choose has lots of wet ingredients like buttermilk or sour cream and oil (instead of butter) to add fat and richness.

3. Use a rice-flour blend: I just recently learned that bean-based flours can have a grainy consistency or taste gross when used in sweets, so try to get a blend based in rice flour, like King Arthur gluten free, instead of something  like Bob's Red Mill.

4. Do not overbake: If anything, underbake. As soon as the cake no longer has any giggle in it, take it out and put the pan directly into the freezer for 15 minutes to cool it directly. Gluten free things seem to dry out really quickly if you leave them in the oven too long.


Ingredients:

1 cup white sugar
½ cup brown sugar, packed
1 cup canola oil or vegetable oil
3 large eggs
1 tablespoon vanilla extract
2 cups gluten-free flour
1½ teaspoons baking powder
1 teaspoon baking soda
½ teaspoon salt
1 tablespoon cinnamon
½ cup buttermilk (substitute 1 tsp lemon juice with milk to add up to 1/2 cup)
2.5 cups carrots, finely shredded
1/2 cup apple sauce
½ cup sweetened desiccated coconut flakes


Preheat your oven to 325F. Prepare 2 8-inch cake pans by buttering and flouring the bottom and sides. You may also find it convenient to add in parchment circles (also buttered and floured) to allow easier removal of the cakes.

Combine the sugar and oil in a large bowl. Add the eggs and vanilla, and whisk until well combined and bubbly.

In a separate bowl, sift the flour, baking powder, baking soda, cinnamon, and salt.

In two additions, mix dry ingredients into the sugar and egg mixture, alternating with buttermilk. Do not over mix, just blend until fully combined--it shouldn't be perfect.

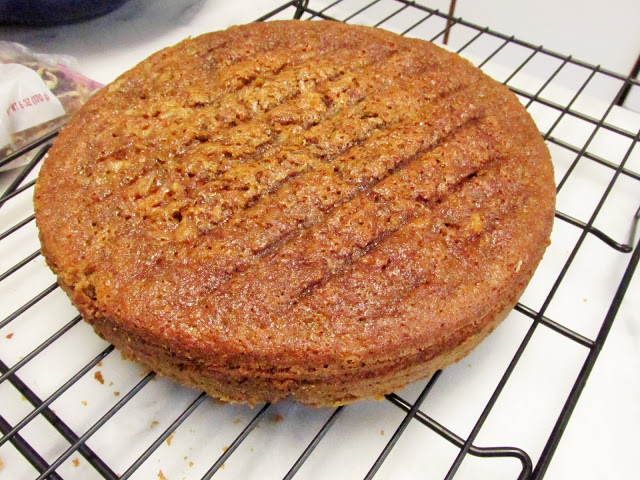
Next, pour in your carrots, apple, and coconut. Fold in gently. Divide batter between the pans and bake for 20-30 minutes. Once you hit the 20 minute mark, check every few minutes. Give each pan a gentle shake. Remove the cakes as soon as the batter doesn't giggle. Place the pans in the freezer immediately, for about 15 minutes to stop then cooking process.

Remove from pans and place on cooling racks until fully room temperature.


Cream Cheese Frosting Recipe:

16 oz cream cheese, room temperature
1 stick unsalted butter, room temperature
3-5 cups powdered sugar (depends on how sweet you want it)
1 teaspoon vanilla extract
1/2 tsp. lemon juice
1 cups pecans, pulsed in food processor until small bits


Beat the butter and cream cheese until smooth. Add in your powdered sugar 1 cup at a time until smooth and thick. Add in lemon juice and vanilla. Continue beating, and add in more sugar if you want it thicker.

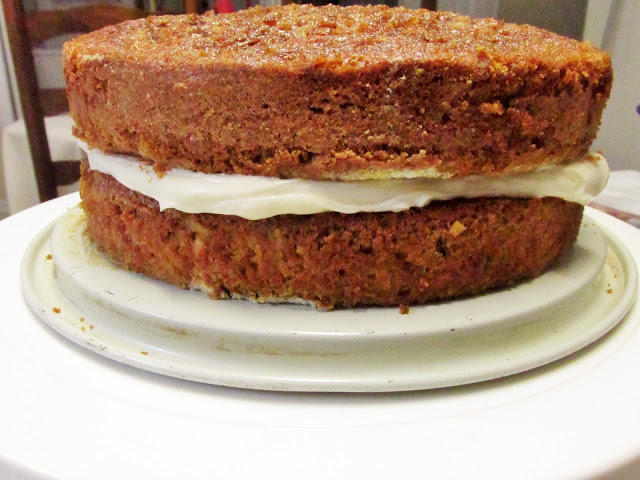
To frost the cake: place the first layer on your cake tray. Scoop up a nice, large spatula-full of icing (about 1 cup) and spread carefully over the cake, being sure not to pull up crumbs. Keep this layer thick. Carefully pick up your second cake layer and lay it on top of the icing, press down gently to even the top.


Use another 2 cups of icing to carefully cover the top with your cake spatula, allowing frosting to overhang the sides. Lastly, slather frosting over the sides of the cake until fully covered. Take handfuls of pecans and press them all around the sides of your cake. Use any remaining frosting to garnish the top with some swirls. Refrigerate to firm up. Let this sit on the counter for about 20 minutes before serving.