Showing posts with label Appetizers. Show all posts

Saturday, September 20, 2014

Low Carb Fried Mozzarella Sticks

I apologize for my long absence. Starting a new school year can be overwhelming! I've still been experimenting away, and I have plenty of recipes to add :)


First, I've got this lovely thing. For those of you why are low-carbers, you already know that it's possible to indulge in ways that people on other diets cannot! Yes, you can still have fried food. Of course, it's not an everyday thing, but these sure are delicious.


Ingredients for sticks:

-1 package mozzarella string cheese (shoot for higher fat content)
-2 cups Kraft "Parmesan" cheese (yes, this is the dried, powdered, Parmesan on the shelf)
-1 tsp. paprika
-1 tsp. basil
-2 eggs, whisked with 1/4 cup water
-canola oil for frying

Take as many string cheeses out of their packages as you desire to eat. Cut them all in half.

Mix together your cheese, paprika, and basil in a bowl. Prepare a work space with a plate for the finished sticks, the egg mixture, and the cheese mixture. Try to use one hand for wet and one hand for dry, to prevent having to wash your hands a million times.

Dip a cheese stick in the egg mixture, then into the cheese, and pack on the mixture. Dip in the egg and in the cheese again, double-coating the stick and being sure that every edge is covered. Set onto plate. Repeat with all cheese sticks.

 Once all are coated, wash your hands and then take each cheese stick and roll it along a cutting board or your counter, to make smooth sides, then place the plate of sticks in the freezer for about 30 minutes to an hour. Prepare your oil for frying. Pour about 2 inches of oil into a pan, and set over medium-high heat. To test, place a scrap of vegetable or cracker in the oil. If it starts to sizzle and bubble immediately (without splattering you), the oil is hot enough. If it splatters or smokes, it is too hot so take it off of the heat and wait a few minutes.

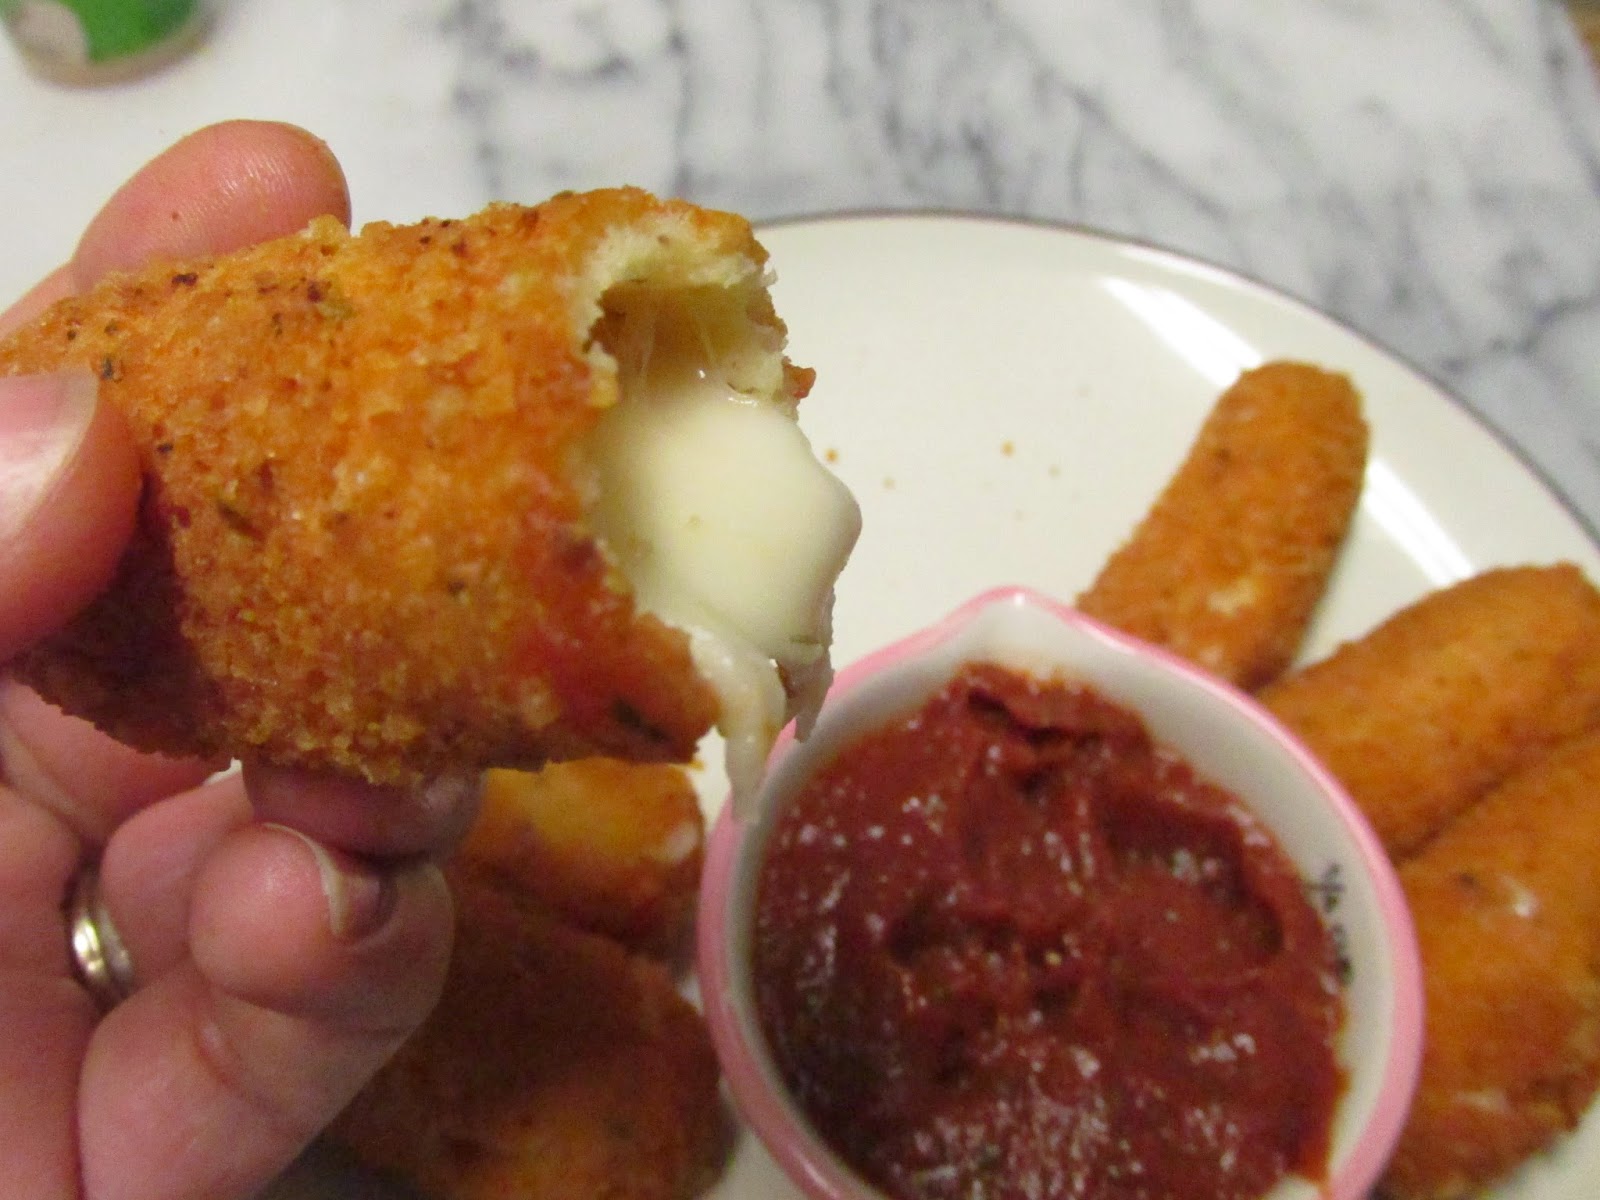
Fry the sticks a few at a time until golden. Strain on paper towels and serve with marinara sauce. Make sure you serve them while they are still hot, or the cheese will no longer be gooey.

You can store extras in the freezer.


Here's my quick sauce recipe:

-1 can of tomato paste or sauce
-1 clove of garlic
-2 tbsp. olive oil
-1 tsp. basil
-1/4 tsp. thyme
-1/4 tsp. salt
-water (if using paste)

Mix all ingredients, and if using tomato paste, add about a tablespoon of water at a time until it's the consistency you like for dipping. For sauce, you don't need to add water :)


Sunday, June 1, 2014

Feta Mint Bruschetta


I came up with this really quickly tonight in the face of a grill fiasco. The chicken burned to a crisp when I had only left it alone for 8 minutes! I think the grill was too hot...anyway, in the face of a meat-debacle I decided to make something yummy and protein-filled. These were really good with a glass of wine. Fresh and flavorful. 

Ingredients:

-1 loaf of french bread, sliced
-12 oz. of fresh feta cheese, very thinly sliced
-2 tomatoes, thinly sliced, seeds removed.
-1 bunch of mint, torn in small pieces
-extra virgin olive oil
-1 large garlic clove
-salt and pepper

Slice up the cheese and tomatoes, and tear up the mint. 

Toast the bread on the grill or in the oven. Slice the garlic in half and rub it on the top side of each slice of toast (this will give a little garlicky flavor!). Lay a slice (or a few) of feta, tomato, and a scattering of mint over top. Drizzle over a little olive oil and a sprinkle of salt and a crack of pepper. Serve!


Tuesday, April 1, 2014

Mexican Supper with Ancho Chili Salsa and Chorizo Queso Dip

So I get this really highfalutin magazine called "Bon Appetit" that often has yummy recipes, but tends to call for really random ingredients--some cut of meat that would cost your pay check, some vegetable or herb you have never heard of that "you can find at your local speciality food store" (pshh! like I have one of THOSE around here!). Anyway, so I do actually sometimes find workable recipes in it, and this week I came across an amazing idea--a Mexican feast!


Now this doesn't mean you get to go out and buy your taco "kit" or your fajita "kit" and some Tostitos chips and you're good to go. NO...this means you get to use awesome, real ingredients to make something funky, fresh, and REALLY Mexican. Trust me, you'll go for this. 

These recipes are simple, cheap, and don't require any ingredient that you've never heard of (at least I hope...).

This Ancho Chile salsa is really sweet and tangy, with a definite spiciness to it (I would say it qualifies as "medium" spicy compared to store-bought stuff). The queso is also really something. It's uh-mazing with chorizo in it (who would have thought?).

I also made a delicious steak with grilled vegetables to go with our tortillas and sauces, and I will tell you what I did for that at the end. 

Ancho Chile Salsa:
Ingredients:
-1 1/2 oz. dried chiles de arbol
-1 1/2 oz. dried ancho chiles (both types can be found in the Mexican section where all the spices are)
-1 medium white onion, chopped
-4 garlic cloves, peeled
-1 Tbsp. kosher salt
-1/2 cup white vinegar


Toast the chiles in a dry pan over high heat, turning often, until fragrant. This should take 3-5 minutes. Let them cool slightly.


Next, pull out the stems and seeds (you may need to cut the stems out of the ancho chiles). Place the chiles, onion, garlic, salt, and 1 1/2 cups of water into the saucepan and bring to a boil. Reduce heat to low, cover, and let simmer for 15-20 minutes, until very soft.


Puree the chile mixture in a blender until smooth. Mix in the vinegar, and let it cool while you start on your queso dip.


Chorizo Queso Recipe:

Ingredients:
-1 Tbsp. vegetable oil
-6 oz. chorizo, casings removed
-2 1/2 cups half and half (or use half milk, half heavy cream, like I did)
-8 oz. Mexican melting cheese or Velveeta (I KNOW! The pros even use it!), cubed
-8 oz. Monterey Jack, grated
-8oz. sharp cheddar, grated
-Mexican Cojita Cheese/Crumbling Cheese
-Cayenne Pepper
-chili powder

First, add your vegetable oil to a pan and cook your chorizo until crispy--about 8-10 minutes. This stuff is amazing, and I have no idea why I never used it before! So flavorful and tangy! Set it aside on some paper towel.

In a large saucepan add in the velveeta/melting cheese and your milk/cream to the pan.


Stir occasionally until the cheese melts completely, about 8-10 minutes. Next add in the Monterrey Jack and cheddar and stir until smooth.


You can keep the cheese sauce over the heat until you are ready to serve up. Stir in 1/4 tsp. of chili powder and of paprika, and 1 tsp salt. Taste. Pour into a serving dish and sprinkle the chorizo on top, and then some Cojita cheese.


Grilled Steak and Vegetables:

Steak:

-2lb. skirt steak, cut in 4 pieces
-4 garlic cloves
-1/4 cup fresh squeezed lime (about 2 limes)
-1/4 cup olive oil
-3 Tbsp. smoked paprika
-2 Tbsp. chopped fresh cilantro
-1 Tbsp. ground cumin
-1 tsp. kosher salt
-1 tsp. onion powder

Puree all ingredients (except the steak, of course) in a blender. Pour into a large zip-lock bag. Add in your steak and turn to coat. Refrigerate for about 4 hours or until ready to grill.

When ready to grill, remove steak from marinade and scrape off any excess. Salt and pepper both sides. Grill on medium for about 3-4 minutes per side for medium doneness. Let cool for a 5-10 minutes before slicing, to let all the juices settle.

Grilled Veg:

-1 cabbage, quartered, core intact
-1 bunch scallions, trimmed
-1 white onion, halved with some root end attached
-1/3 cup chopped red onion
-3 Tbsp. lime juice
-1 Tbsp. chopped cilantro

Rub olive oil and salt over the vegetables. Grill cabbage for about 10-12 minutes, turning occasionally, same for the onion. The scallions will only take about 4 minutes.

Chop up grilled vegetables into pieces, discarding the core and stems of cabbage and onion. Toss in a bowl with other ingredients.

Serve with steak and tortillas.


I added some peppers and cojita cheese on the side for some more toppings. Use whatever you like!


The Final Product! A Mexican feast! Oh, and don't forget those Tostitos...you are probably going to want to mop up as much of that queso as possible...


Saturday, March 22, 2014

Baked Empanadas

 So we already have gathered that I love dumplings...Well, these are at least second-place in my rankings. This crispy, buttery crust encapsules the spicy, tangy, meaty goodness that reminds me of some tropical vacation. Dipped in a gooey cheese sauce, these empanadas make my day.


 Dough Ingredients:

-3 cups all-purpose flour
-¼ teaspoon salt
-6 oz unsalted butter (1 ½ sticks), chilled and cut into 12 pieces
-1 egg
-4-5 tbs water

 Combine flour and salt in your food processor. Add in butter and egg. Pulse until fully combined. Sprinkle in water with the machine on until the dough clumps up. You may not need all of the water. (You can also do this by hand if you don't have a food processor (or if you haven't made it to the gym this week).

Dump out the dough onto the counter and form a ball. Flatten it slightly, wrap it in plastic, and place it in the fridge for about 1 hour.

Empanada Filling:

-2 cloves of garlic, minced
-1/2 cup shredded carrot, minced
-1/2 cup yellow onion, minced
-1 tsp. cumin
-1 tsp. smoked paprika
-1/2 tsp. cayenne pepper
-1/4 tsp. mustard powder
-1 tsp. salt
-1/4 tsp. ground pepper
-1/2lb of ground pork
-1/2 lb. of ground beef


Heat a large pan on medium-high. Pour in a glug of olive oil and wait until you feel the heat radiating when you wave your hand in the air over the pan. Add in your onions and garlic. Let them sizzle and get nice and golden brown--about 5 minutes. Next, add in your carrot. Toss this all around and then add in all of your spices and salt and pepper. Let this mixture get nice and fragrant. Last, add in the ground meat and combine fully. Cook down 5-10 minutes until fully browned. Taste, and add more cayenne to taste or more salt if needed.

 Set aside to cool.


In the meantime, take your dough out of the refrigerator and roll out until thin, using a little flour to keep it from sticking. Using a small bowl, large cookie-cutter or even just a knife (if you are good at things like that) cut out 6 inch rounds. Lay them onto a tray covered with tin foil. Start adding about 1 tablespoon of the filling onto each round and fold over, pressing the edges together with a fork. Make sure no filling is escaping, because they will pop open in the oven!


When you have finished filling them, brush all of the tops with egg wash and place back in the fridge for 30 minutes. This will help them stay sealed in the oven.


Preheat the oven to 400F. Bake empanadas for 18-25 minutes, until bubbly and golden brown.


Serve with white queso from the Mexican section--or sour cream! Yum....

Friday, February 21, 2014

Asian Egg Rolls

 When I was in high school, I had some friends from Indonesia who always brought homemade egg rolls to school for everyone. I was the biggest fan, to say the least! They are SO GOOD. One day, my friends informed me that their mother needed some help putting together a massive amount of egg rolls for a party, and she was wondering if I wanted to come and learn. So, of course I jumped on the opportunity.


The recipe here as well as the rolling technique comes directly from what I learned that day. These egg rolls are pretty easy to make and put together, and you can decide if you want to fry them or bake them in the oven when you are done.


Ingredients:

-1/2 lb. of ground pork
-2 cloves of garlic, finely chopped
-1 thumb-sized piece of ginger, peeled and finely chopped
-1/2 an onion, chopped
-1 bunch of spring onions, chopped
-3/4 cup of shredded carrots, chopped
-1 napa cabbage, chopped
-3 tbsp. soy sauce
-1 tbsp. sugar cane vinegar or rice vinegar

-1 package egg roll or spring roll wrappers (the egg roll wrappers are thicker--they both taste good)


Chop up all of your vegetables and toss them in a bowl.


Preheat your wok (or a deep-sided pan) to medium-high, and start cooking the pork.


Once it's browned, add in your garlic, ginger, soy sauce, and vinegar. That is all the liquid you should add to this mixture. It is important that it isn't wet, or it will make the wrappers soggy.


Once this becomes fragrant, add all of your vegetables to the pan. Gently combine this with a spatula and continue stirring for 3-5 minutes, until it starts to simmer down.


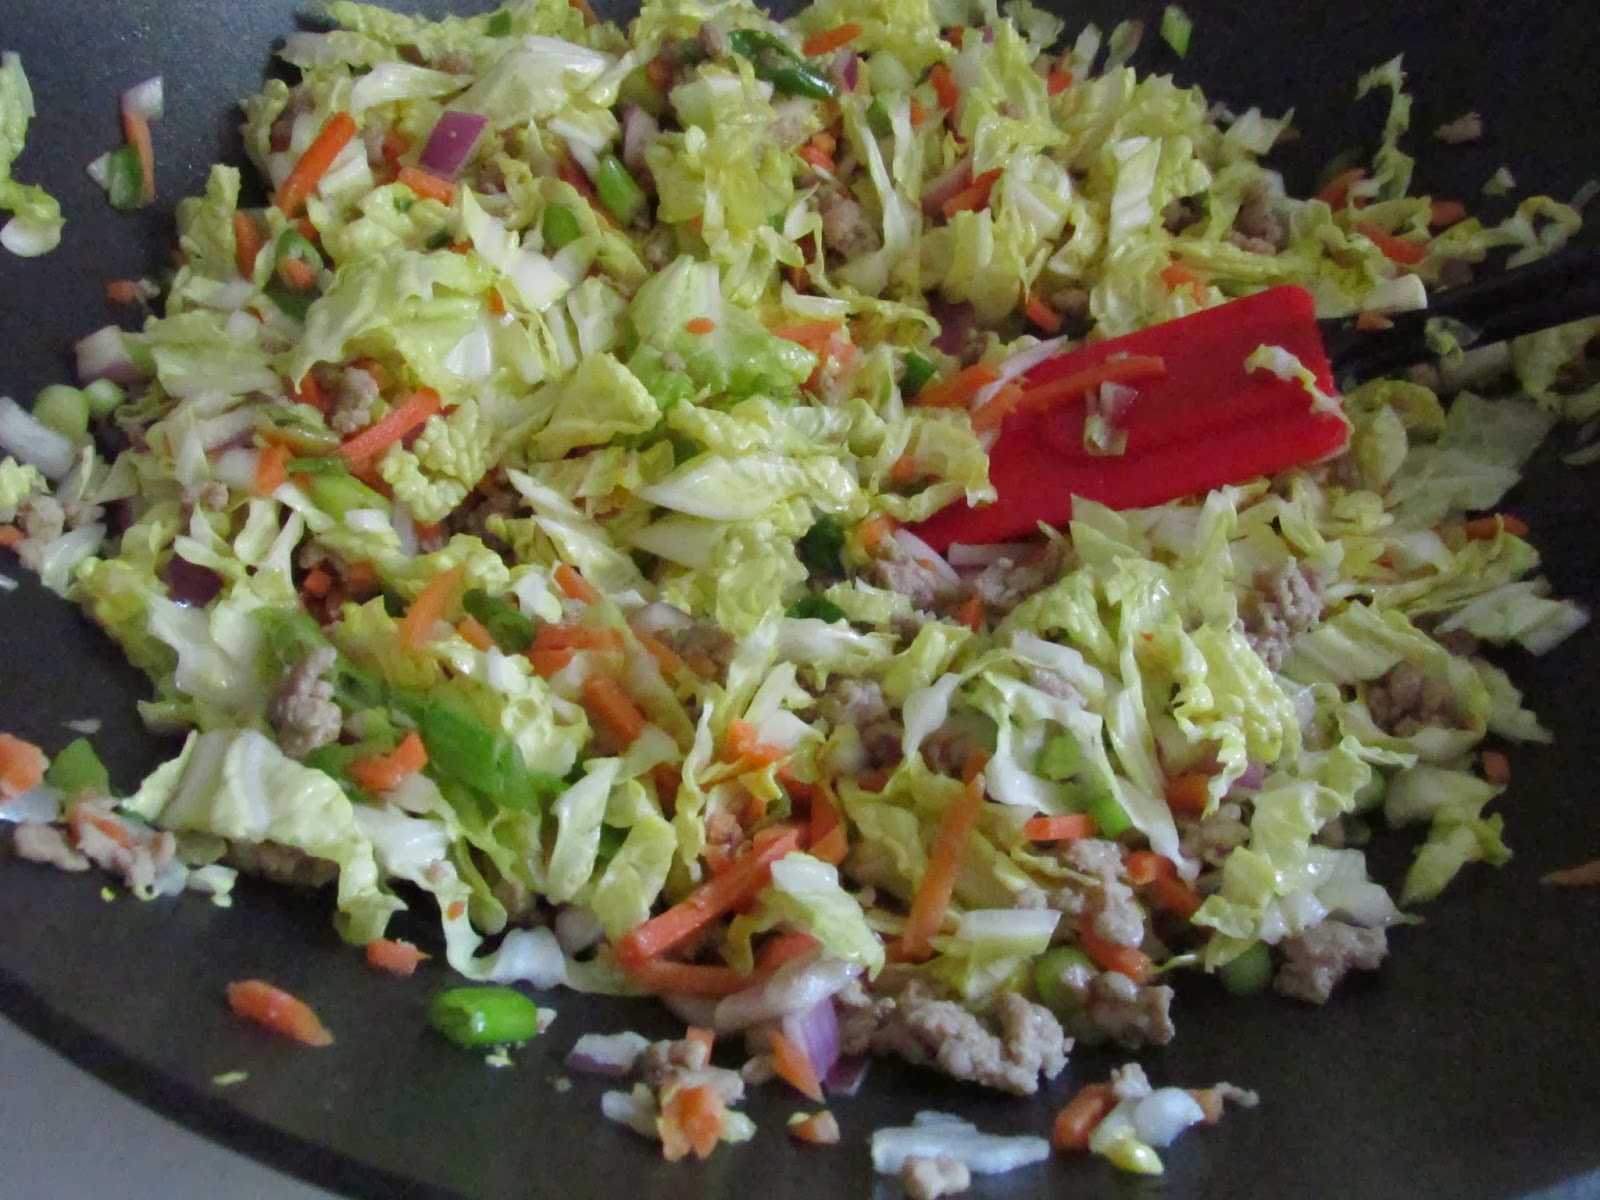
 See how the cabbage relaxes as it cooks?

Continue simmering over medium heat until the carrots are softened. Set aside to cool.


 You can find egg roll or spring roll wrappers at most grocery stores, but you can also check out your local Asian market (I usually get the TYJ brand) . Get the biggest size you can find, though, because it's much easier to roll them up when you are a beginner :)

When the mixture is cooled, strain it so you can get rid of any extra liquid. Make sure you keep your wrappers covered with a damp towel, or they will shrivel up. Lay out a wrapper like a diamond on a flat surface. Add about 2 tsp. of mix 2/3 of the way down the pastry. 


Fold over the edge like this, creating a smaller triangle.


 Tighten the bundle by starting to roll it like this, tucking the mixture into the small triangle you just made.

Roll it another turn, until the bundle is even with the side-points of your diamond, then fold over the sides. Make sure it's snug!


Roll it the rest of the way up.


 Continue this for all of your egg rolls, making sure you place the finished ones in a container covered with a damp towel--keeping the loose corner tucked underneath.

Once complete, there are two ways you can cook them. First, you can fill a pan with 3/4 inch of vegetable oil and heat it on medium until a chunk of vegetable thrown in starts to sizzle and is covered with bubbles immediately. That means it's hot enough. If it smokes or starts spattering everywhere, TURN IT DOWN and take it off the heat. Using tongs, place some egg rolls in the oil, open face down, hold them in place for a few seconds to make sure they don't unravel, and let them sizzle away until golden brown on the bottom. Flip and repeat. Place on paper towels.

 OR

You can preheat your oven to 375F, coat a pan with oil. Place your egg rolls and paint them or spray them with oil. Cook for 15 minutes and then flip, cooking until browned. The oven method makes the wrappers more crispy than crunchy, but it's a lot faster.


I always serve egg rolls with Sweet Chili Sauce. It's really the most tangy sauce for egg rolls. You'll love it. You can find it in the international section at Harris Teeter or at your local Asian Market.