Friday, February 21, 2014

Asian Egg Rolls

 When I was in high school, I had some friends from Indonesia who always brought homemade egg rolls to school for everyone. I was the biggest fan, to say the least! They are SO GOOD. One day, my friends informed me that their mother needed some help putting together a massive amount of egg rolls for a party, and she was wondering if I wanted to come and learn. So, of course I jumped on the opportunity.


The recipe here as well as the rolling technique comes directly from what I learned that day. These egg rolls are pretty easy to make and put together, and you can decide if you want to fry them or bake them in the oven when you are done.


Ingredients:

-1/2 lb. of ground pork
-2 cloves of garlic, finely chopped
-1 thumb-sized piece of ginger, peeled and finely chopped
-1/2 an onion, chopped
-1 bunch of spring onions, chopped
-3/4 cup of shredded carrots, chopped
-1 napa cabbage, chopped
-3 tbsp. soy sauce
-1 tbsp. sugar cane vinegar or rice vinegar

-1 package egg roll or spring roll wrappers (the egg roll wrappers are thicker--they both taste good)


Chop up all of your vegetables and toss them in a bowl.


Preheat your wok (or a deep-sided pan) to medium-high, and start cooking the pork.


Once it's browned, add in your garlic, ginger, soy sauce, and vinegar. That is all the liquid you should add to this mixture. It is important that it isn't wet, or it will make the wrappers soggy.


Once this becomes fragrant, add all of your vegetables to the pan. Gently combine this with a spatula and continue stirring for 3-5 minutes, until it starts to simmer down.


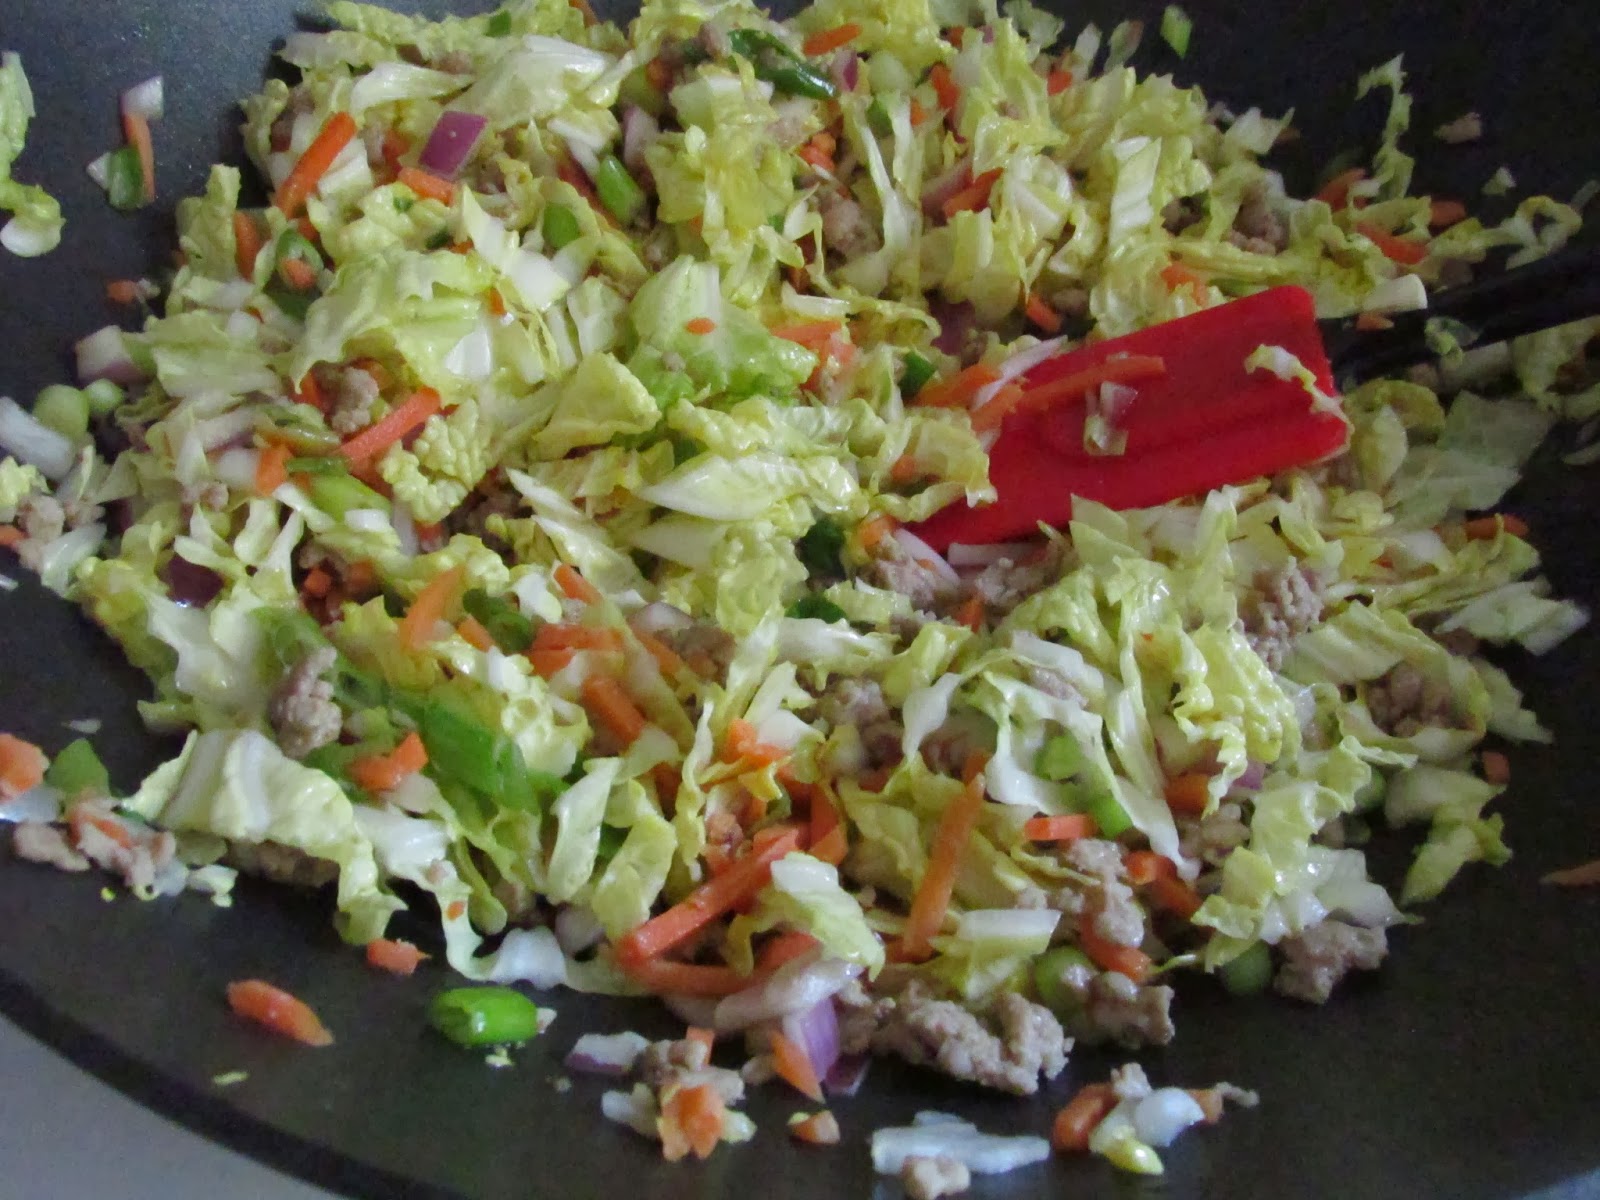
 See how the cabbage relaxes as it cooks?

Continue simmering over medium heat until the carrots are softened. Set aside to cool.


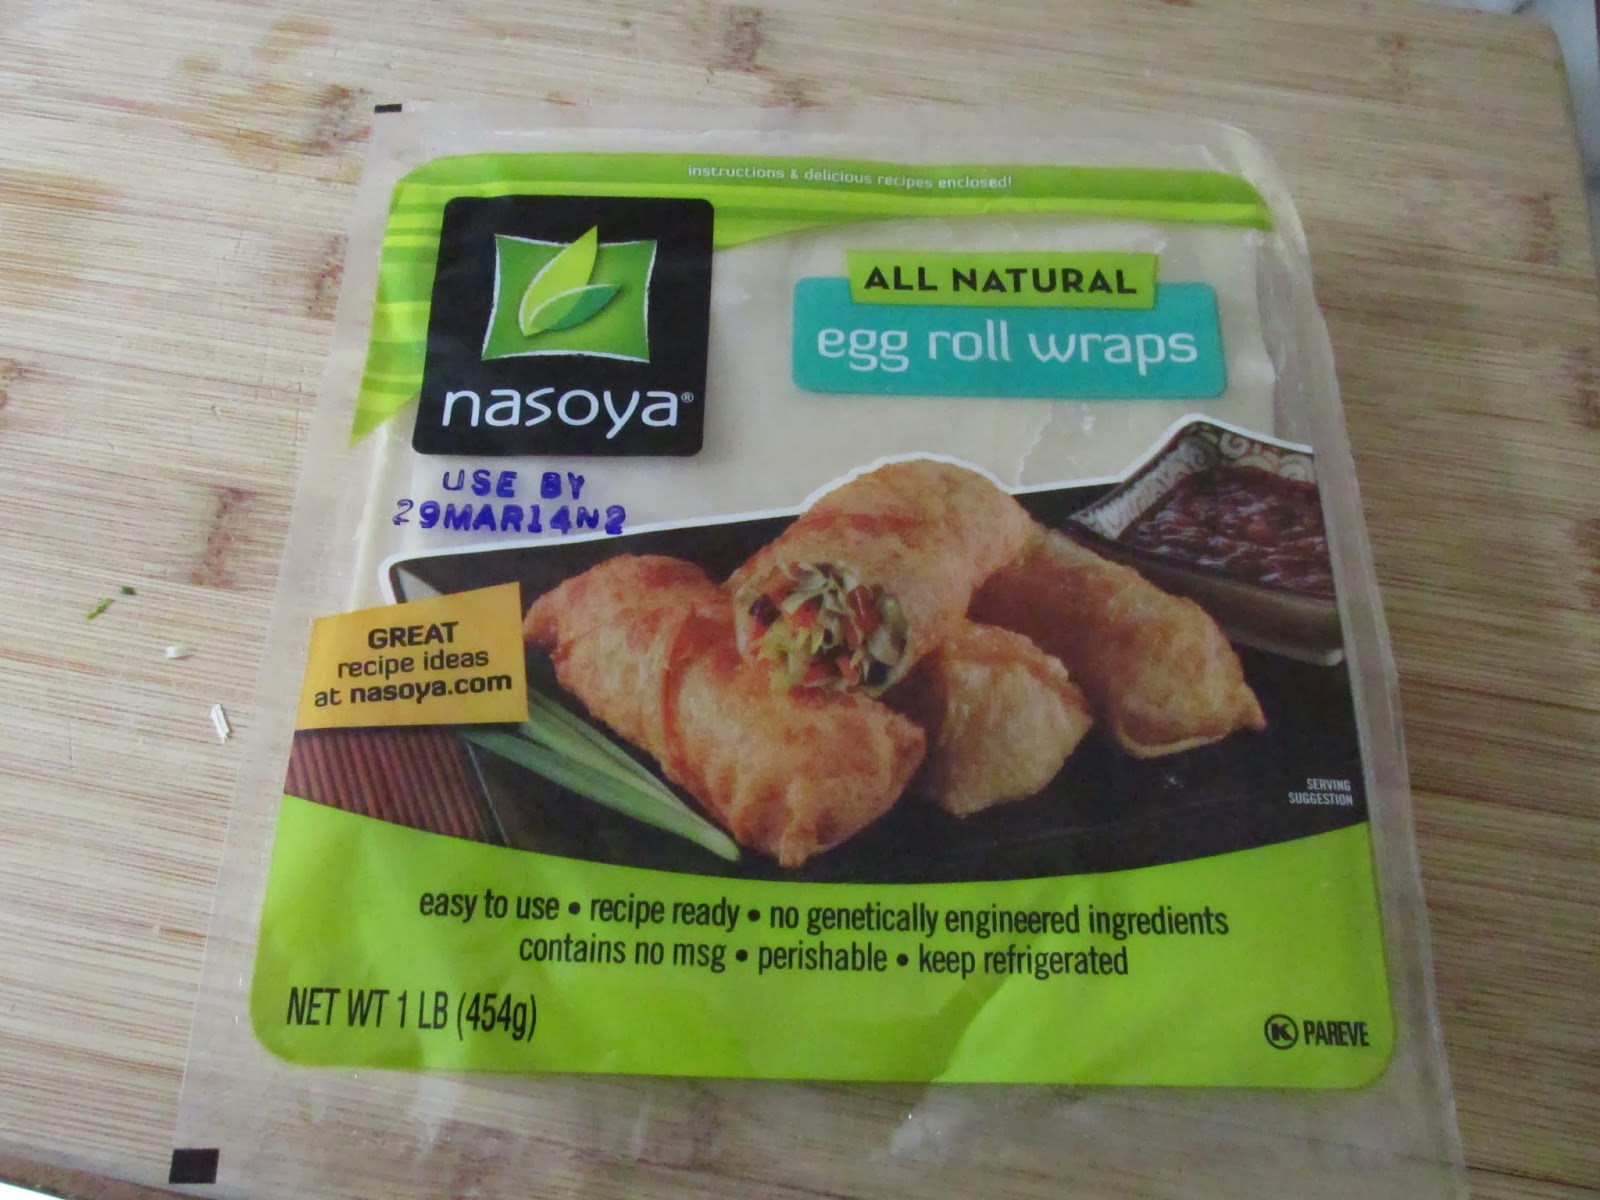
 You can find egg roll or spring roll wrappers at most grocery stores, but you can also check out your local Asian market (I usually get the TYJ brand) . Get the biggest size you can find, though, because it's much easier to roll them up when you are a beginner :)

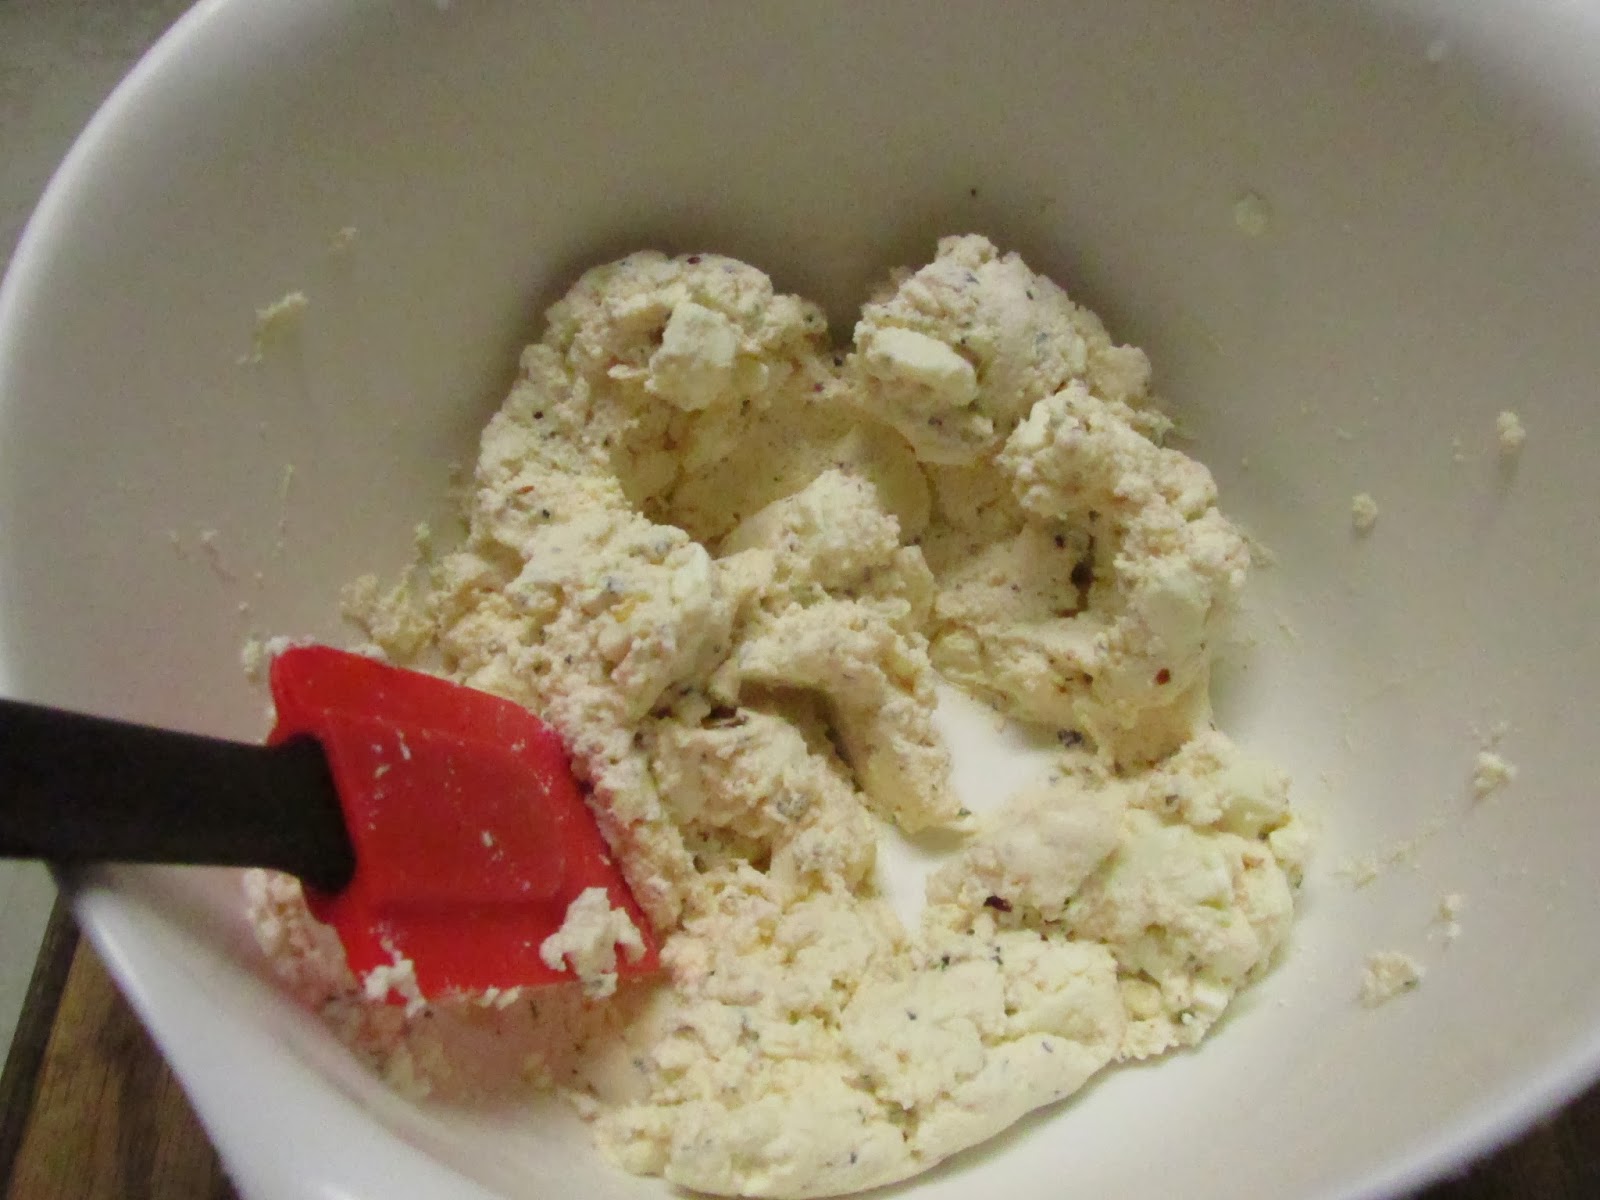
When the mixture is cooled, strain it so you can get rid of any extra liquid. Make sure you keep your wrappers covered with a damp towel, or they will shrivel up. Lay out a wrapper like a diamond on a flat surface. Add about 2 tsp. of mix 2/3 of the way down the pastry. 


Fold over the edge like this, creating a smaller triangle.


 Tighten the bundle by starting to roll it like this, tucking the mixture into the small triangle you just made.

Roll it another turn, until the bundle is even with the side-points of your diamond, then fold over the sides. Make sure it's snug!


Roll it the rest of the way up.


 Continue this for all of your egg rolls, making sure you place the finished ones in a container covered with a damp towel--keeping the loose corner tucked underneath.

Once complete, there are two ways you can cook them. First, you can fill a pan with 3/4 inch of vegetable oil and heat it on medium until a chunk of vegetable thrown in starts to sizzle and is covered with bubbles immediately. That means it's hot enough. If it smokes or starts spattering everywhere, TURN IT DOWN and take it off the heat. Using tongs, place some egg rolls in the oil, open face down, hold them in place for a few seconds to make sure they don't unravel, and let them sizzle away until golden brown on the bottom. Flip and repeat. Place on paper towels.

 OR

You can preheat your oven to 375F, coat a pan with oil. Place your egg rolls and paint them or spray them with oil. Cook for 15 minutes and then flip, cooking until browned. The oven method makes the wrappers more crispy than crunchy, but it's a lot faster.


I always serve egg rolls with Sweet Chili Sauce. It's really the most tangy sauce for egg rolls. You'll love it. You can find it in the international section at Harris Teeter or at your local Asian Market. 


Thursday, February 13, 2014

Snow Day Frosting

I don't really have a recipe for today, but I thought I would share these pretty cupcakes I made! I had an order that was supposed to go out today--but I guess I will be bringing it on Monday now, due to the fact that our job (teaching school) has been cancelled for the rest of the week! So, instead of saving my frosting, I decided to do some doodles on some extra cupcakes I made.

(These cupcakes are actually made from the same recipe as my almond raspberry cake found here, as well as using the same Swiss buttercream frosting).


I had never tried the roses before, and they turned out really well! I am not much for frou-frou food of any kind, but I found these to be an acceptable balance. They don't take too long or too much effort to frost, and they look so pretty! Here is a good tutorial.

I always thought those pastry chefs who spend hours spinning delicate hard candy into sculptures and making cakes into pieces of art are kind of missing the point. By the time they are finished, nobody wants to even EAT said lovely dessert--they just want to take it home and put it on their wall! Food needs to look edible AND attractive. That's my perspective, anyway.


Tuesday, February 11, 2014

Uncomplicated Calzones

 Some days I just feel like eating one of those strombolis from Sbarro in the mall, but I then realize it's a Tuesday and there ain't no way I'm getting to the mall until at least Friday evening...but who ever said I have to eat out anyway?!


That's why God invented food processors and ovens and let us have them IN OUR OWN HOMES!!!

Don't be fooled! It's easy to make calzones at home. They are scrumptious; here is the recipe.

 Ingredients for dough:

-1 tbsp. dry active yeast (NOT quick-rise or instant)
-1 tsp. sugar
-1 cup of hot tap water (105-110F)
-1 tsp. salt
-3 cups of all purpose flour (not packed, measured by spooning the flour in loosely)


Ingredients for filling:
-1 cup (approx.) ricotta cheese
-1 cup shredded mozzarella
-1 tsp. fresh minced garlic
-1 tsp. mixed dry herbs (like basil and oregano)
-1/2 tsp. salt
-other toppings (pepperoni, sausage, vegetables...)

-Tomato sauce/pizza sauce for dipping


First, make your cheese mixture. Combine all of the above ingredients in a bowl, except for the toppings. Set aside.


To make the dough, combine the sugar and yeast in small bowl. Pour over 1 cup of hot tap water. Let this sit for about 3-5 minutes, until frothy. 

Pour your flour and salt into the food processor. Pulse a few times to mix. Next, with the food processor on, slowly pour in the yeast mixture. Use it all up and let it keep blending until it forms a single ball of dough. Remove the blob, form it into a ball and place it in a bowl. drizzle over about 1 tsp. of olive oil and fully coat the ball of dough, and cover it with a plate and place it in a warm oven (150-200F) or warmer drawer.

Let the dough rise for about 30 minutes to an hour in this really warm place. Take it out and punch it down, and pull off 1/2 of it. Roll it out on a lightly floured board. Also, put a pizza stone/upside down cookie sheet into the oven and preheat it to 425F.


 Add on about 1/3 of your cheese mixture and some toppings.


Crimp the edges together tightly and make 3 slices in the top with a knife--just like you would for a pie.


Paint some olive oil onto the preheated pizza stone or an upside down cookie sheet. Slide on the calzone. Brush it with olive oil,  and bake it for 20-25 minutes on 425F. Slice, and serve with sauce.


 I made one big one and one small one :P


Monday, February 10, 2014

Yummy Banana Bread


I don't know about you, but we pretty much always have brown bananas. My husband and I are very picky about our  bananas--we both like them yellowy-green--but bananas always manage to get brown too fast. So as you can imagine, we always have some lying around that will never get eaten!

That's why we make banana bread! Really though, it's more like a cake. It's sweet and soft and delicious with butter or jam. And you can put whatever you want in it! Nuts, dried fruit, chocolate chips...It's super versatile and a very very easy way to use up those extra bananas.

My recipe comes from "The New York Times Cookbook" though I do tend to deviate (as always) every time I make it. This time I just did a single loaf with walnuts. The recipe doubles perfectly!

Ingredients:
-1 3/4 cups flour
-2 tsp. baking powder
-1/4 tsp. baking soda
-1/2 tsp. salt
-1/3 cup butter
-2/3 cup sugar (I use half brown half white)
-1/2 tsp. vanilla
-2 eggs
-2-3 ripe bananas, mashed
-1 tsp. cinnamon
-1/8 tsp. nutmeg
-toppings!!! (nuts/chocolate)


Preheat your oven to 350. Grease a loaf pan with butter.

In a medium bowl, sift together the first 4 ingredients. Set aside with mashed banana.

In a large bowl, beat butter and sugar until fluffy and light. Beat in the vanilla and eggs one at a time. Next, add the bananas interchangeably with the flour and stir together until just blended. Lumps are just fine. Don't overbeat it! Stir in the cinnamon and nutmeg.


Pour into the loaf pan, sprinkle with your choice topping. Press them in gently so they stick to the bread.


Bake for 30-40 minutes until golden brown and a knife in the center comes out clean. Cool for at least 10 minutes before digging in!


Saturday, February 1, 2014

Simple, Indoor Hamburgers


Have you ever craved a good 'ole hamburger, looked outside and remembered that it's the dead of winter? That was us yesterday...

Here is my answer to winter: get out your cast iron skillet and make it work! And it is scrumptious! And quite healthy, too!

Also, my secret burger ingredient is oatmeal! It works so much better than breadcrumbs because it absorbs so much more than bread, it makes your burgers heartier, and it's also healthier!


Ingredients:

1lb. 93/7 ground beef
1/2 cup rolled oats
1/3-1/2 cup of your favorite BBQ sauce (I picked honey BBQ)
2 Tbsp. Worcestershire sauce
1 egg
1 garlic clove, minced
1 tsp. salt

Toppings:
Your favorite cheese, sliced
Fresh spinach leaves--so much crunchier and tastier than other lettuce choices!
Thinly sliced onions
Sliced tomatoes
Ketchup, Mustard, and Mayo!


For the patties, blend all of the ingredients in a bowl. Everything should come together and be quite moist. Next, make your patties as big as you want! The oatmeal takes the beef further. I ended up with 5 patties. If you want yours bigger, by all means load it up, babe! Form the patty shape with your hands, and then wrap each one in plastic wrap, tightly, and place in the fridge for at least 1 hour--even overnight to power up those flavors.


When ready to cook, fire up your cast iron skillet (mine has grill lines in it, which is really ideal) to medium-high heat and let it heat up for a good 3-4 minutes so it's piping hot.


Drizzle a little oil into it. Pop some patties in, and make sure there is some space between them so they don't steam.


There should be a sizzling and popping sound--not a steaming sound. Turn the heat down to medium if the pan ever starts smoking. Let them sizzle away for 3-5 minutes, and then flip them with a spatula. You should have fantastic grill marks on the opposite side.


Lay on your cheese slices immediately so they have a chance to melt. I like mine really thick :)


Once another 3-4 minutes have passed, take the burgers out and let them rest on a plate (I did one with habanero-jack cheese for my man!). Toast your buns in the pan, too!


Finally, serve 'em up! I served ours with a simple cucumber-tomato salad with a balsamic vinaigrette.


Helloooo delicious!